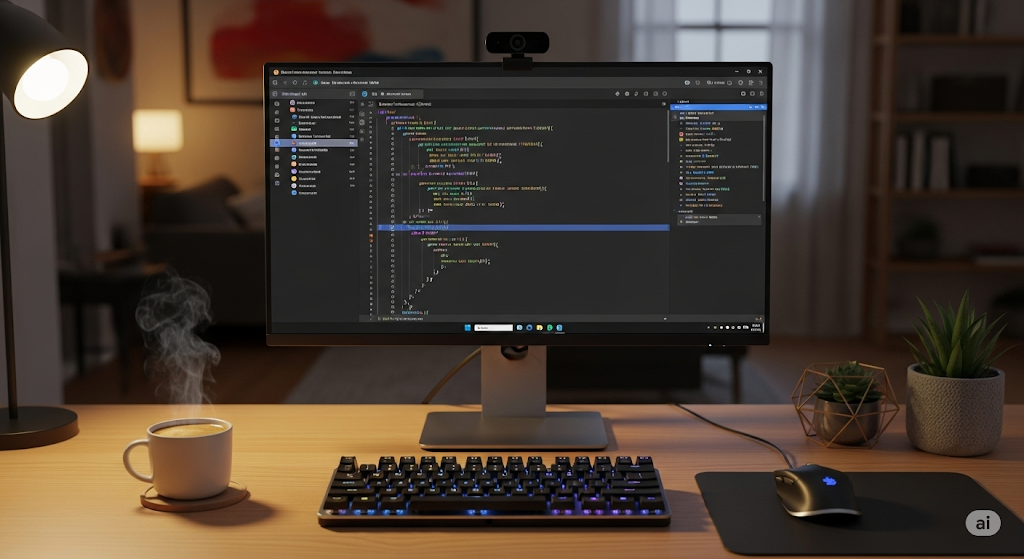
Getting started with full-stack development can be daunting, but setting up the right environment is the first step to success. Windows 11 has evolved into a powerhouse for developers, especially when it comes to web technologies like React. This guide will walk you through creating the perfect setup for React development on Windows 11, from the terminal to your first running application.
Why Windows 11 for React Development?
In the past, many developers preferred macOS or Linux for web development due to their Unix-based terminals. However, with the introduction of the Windows Subsystem for Linux (WSL), Windows 11 now offers the best of both worlds. You get the familiar Windows user interface with a powerful, integrated Linux command-line experience.
Core Tools You’ll Need
Before we dive in, let’s list the essential tools we’ll be installing. This stack is a standard and powerful combination for modern full-stack React development.
- Windows Subsystem for Linux (WSL 2): To run a Linux environment directly on Windows.
- Node.js & npm: The JavaScript runtime and its package manager.
- Visual Studio Code (VS Code): A versatile and popular code editor.
- Git: For version control.
Step 1: Setting Up the Foundation with WSL 2
What is WSL?
WSL allows you to run a genuine Linux kernel and command-line tools directly on Windows, without the overhead of a traditional virtual machine. This means you can use Linux-native tools like `grep`, `awk`, and `ssh` seamlessly within your Windows workflow, which is a massive advantage for web developers.
How to Install WSL 2
Microsoft has made installing WSL incredibly simple. Just open your PowerShell or Command Prompt as an administrator and run this single command:
wsl --install
This command will automatically download and install the latest version of WSL, along with the default Ubuntu distribution. Once it’s done, restart your computer, and you’ll be prompted to create a username and password for your new Ubuntu environment.
Step 2: Installing Node.js and npm
Using NVM for Version Management
While you can install Node.js directly, it’s highly recommended to use a version manager like `nvm` (Node Version Manager). This allows you to easily switch between different Node.js versions, which is crucial when working on multiple projects that may have different requirements.
Installation Steps
1. Open your newly installed Ubuntu terminal (you can find it in the Start Menu).
2. Run the official `nvm` installation script. You can get the latest version from the nvm GitHub repository, but it typically looks like this:curl -o- https://raw.githubusercontent.com/nvm-sh/nvm/v0.39.7/install.sh | bash
3. Close and reopen your terminal, then install the latest Long-Term Support (LTS) version of Node.js:nvm install --lts
4. Verify the installation by checking the versions:node -vnpm -v
Step 3: Configuring Your Code Editor – VS Code
Why VS Code?
Visual Studio Code is a free, open-source code editor that has become the industry standard for web development. Its power lies in its extensive marketplace of extensions, integrated terminal, and excellent support for JavaScript, TypeScript, and React.
Essential Extensions for React
The real magic of VS Code comes from its extensions. For a smooth React development experience, you’ll want to install the WSL extension from Microsoft. This allows VS Code on Windows to directly connect to and operate within your WSL environment.
- Install VS Code on Windows if you haven’t already.
- Open VS Code and go to the Extensions view (Ctrl+Shift+X).
- Search for and install the “WSL” extension by Microsoft.
- Now you can open your WSL terminal and type `code .` in any project folder to open it directly in VS Code, fully connected to your Linux environment!
For more recommendations, [read our guide on the best VS Code extensions for productivity].
Step 4: Creating Your First React Project
Using Create React App (or Vite)
With your environment fully configured, it’s time to bootstrap your first React application. The quickest way to do this is with a tool like Create React App or Vite. We’ll use Vite as it’s known for its incredible speed.
1. In your Ubuntu terminal, navigate to where you want to store your projects.
2. Run the following command to create a new React project:npm create vite@latest my-react-app -- --template react
3. Follow the on-screen prompts. Once it’s done, navigate into your new project folder and start the development server:cd my-react-appnpm installnpm run dev
Your new React application is now running! You can access it in your browser at the local address provided in the terminal.
Conclusion
Congratulations! You’ve successfully configured a professional-grade environment for full-stack React development on Windows 11. By leveraging the power of WSL 2, nvm, and VS Code, you’ve created a flexible, efficient, and powerful setup that will serve you well across countless projects. Now it’s time to start building something amazing!
Frequently Asked Questions (FAQ)
Can I do React development without WSL?
Yes, you absolutely can. You can install Node.js and Git directly on Windows. However, WSL provides a more consistent and powerful command-line experience that aligns better with most production server environments (which are typically Linux-based).
What is the difference between npm and yarn?
Both are package managers for JavaScript. `npm` is the default manager that comes with Node.js. `yarn` was created to address some of npm’s earlier performance and security issues, though npm has since caught up significantly. Today, the choice between them is largely a matter of personal or team preference.
Read More: MySQL Security Best Practices & Optimization 2025
Read More: Understanding React Components, Props, and State
How do I connect my backend to my React app?
Typically, your React frontend will make API calls (e.g., using `fetch` or a library like Axios) to a backend server (which you might build with Node.js and Express). This setup allows your frontend and backend to run independently while communicating over HTTP.
For an in-depth guide on the Windows Subsystem for Linux, check out the official Microsoft WSL Installation Documentation.